Date: 03/10/2012
For my third tutorial session, I was taught how to produce a perspective rendering by using a photo as the backdrop of the rendering.
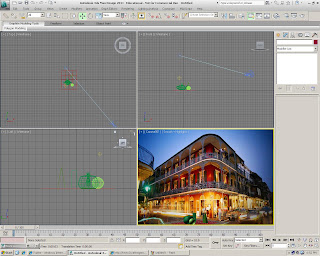
1. I have selected a photo which shows a corner lot building. Photos with angle like this generally makes perspective rendering easier. I also insert sample objects into it.
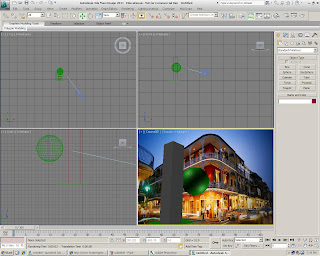
2. I adjusted the object size and angle that best fit to the photo background. By doing this I have to use the 'camera' option. It takes some trial and error to get it right.
3. Adjusting the object orientation.
4. Once I've found the perfect angle, it's time to render.
5. The perspective rendering.


No comments:
Post a Comment