Thursday, October 25, 2012

Interior Rendering : The Prelude


For my second of the my two-part assignment, Project 2B : Interior Rendering will be just as same as to what I did for my Exterior Rendering. Only different is that it is in the interior part of the same vacation house  (insert : you don't say).

From the furnitures to the tiny bit of detail inside, this proves that it's going to be a challenge. Hope the final render will be just as good as my exterior rendering or maybe 10x better (cross fingers).

ANiMATE my 3DsMax (Pt.2)

Class : Tutorial (5th)
Date: 24/10/2012

For my fifth tutorial class, it continues where I left off. The class were given a quick revision of what we've learned on the fifth lecture class.

Most of us including me are still clueless about animation using 3DsMax. Is not as easy as it looks and like what I've said in my previous post, a lot of trial and error occurs.

After dismissing myself earlier from the lecture class last Monday (22/10/12), I've forgotten to save my so called 'city' .max file. I left no choice but to 'siphon' my buddy's 'city' .max file to continue with the tutorial class.


In this tutorial, I learned how to set 'frames' and adjusting 3D object per-frame so that it makes the object moves while the animation is being played.

ANiMATE My 3DsMax (Pt.1)

Class : Lecture (5th)
Date: 22/10/2012

For my fifth lecture class, I've learned how to use 3DsMax to make animation.

1. I created a so called 'city' which consists of objects available in 3DsMax, alter the shape and orientation so that it's filled and more city lookalike.

2. After setting the camera of my preferred viewing angle, I draw a 'line' across my city as a 'track' for my camera to travel. It takes a lot of trial and error to get the scene right.

3. Once everything is set, I click the 'play' button at the bottom right corner and see the almost potential blockbuster unfolds.


External Rendering : The Rendering

 1. Eye level rendering (Front/Façade)

2. Eye level rendering (Back)

External Rendering : The 3D

So here's the part where I'll bring the house 'alive' from an AutoCAD drawing to something magnificent-ly 3D using of course, 3DsMAX.


External Rendering : The CAD

Before starting this assignment using 3DsMax, I must draw the orthographic of my chosen house using AutoCAD.

1. The Floor Plan

2. The Elevations (Optional, for reference)

External Rendering : The Prelude


For my upcoming Project 2A: External Rendering assignment, I have chosen this fairly simple but minimalistic vacation house located in Virrat, Finland. 

The vacation house is called the Four-Cornered Villa and it's designed by Avanto Architects

Info regarding about this vacation house, you can visit this website http://www.archdaily.com/129977/four-cornered-villa-avanto-architects/

PEBL

Class: Tutorial (4th)
Date: 10/10/2012

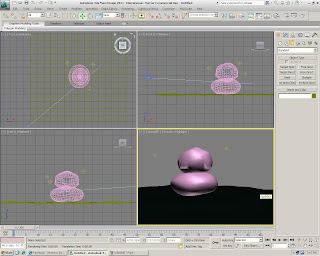
For my forth tutorial session, I've learned how to make a simple pebble and also land terrains. I was really lost during the terrain tutorial so there's isn't any photo except one.

1. Create a 'plane' object

2. Head to the modifier list and click on 'Displace'. It'll make the plane have the uneven surface effect just by adjusting the settings.

3. Create a 'sphere' object and just like the 'plane', use 'displace' to create the uneven surface to mimic a pebble.

4. Adjust the shape and the size of the pebble.

5. Create a second 'pebble' and place it on top of the first one. Both are to place on top of the 'plane' created earlier.

6. Properly secure the preferred orientation.

7. Here to double check before rendering.

8. Render 1

9. Render 2

10. Here is the only photo I manage to printscreen of my progress on how to create a terrain. I got really lost and need to practice starting from scratch.


Wednesday, October 24, 2012

Perspective Rendering Using Photo

Class: Tutorial (3rd)
Date: 03/10/2012

For my third tutorial session, I was taught how to produce a perspective rendering by using a photo as the backdrop of the rendering.

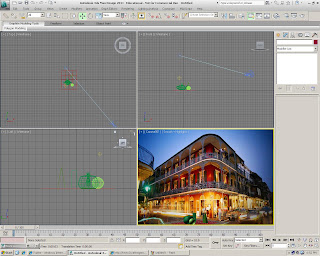
1. I have selected a photo which shows a corner lot building. Photos with angle like this generally makes perspective rendering easier. I also insert sample objects into it.


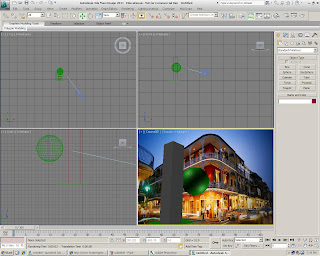
2. I adjusted the object size and angle that best fit to the photo background. By doing this I have to use the 'camera' option. It takes some trial and error to get it right.


3. Adjusting the object orientation.


4. Once I've found the perfect angle, it's time to render.


5. The perspective rendering.